
Showing posts with label accessories. Show all posts

Sunday, August 2, 2009

DIY ruffly belt with Rachel from Heart of Light

Photos & Content of today's entry belongs to 100 Layer Cake

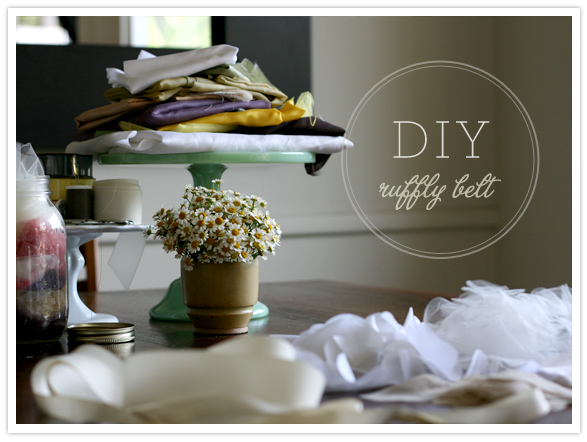
diy_rufflybelt3

First off, Rachel is one of the craftiest gals in the blogosphere. If you’re in need of a little modern, down-to-earth Martha in your blog life right now you must visit Heart of Light.
diy_rufflybelt2

Supplies:

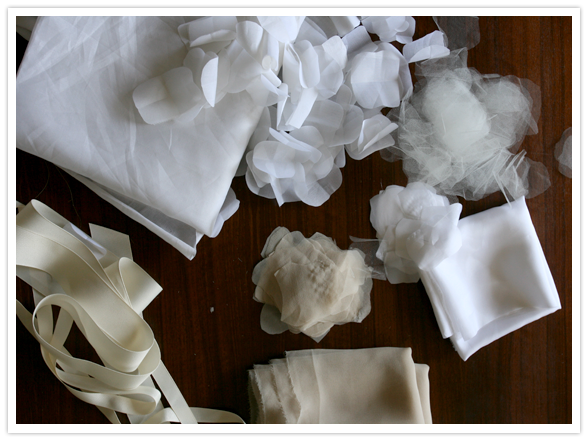
Quality ribbon - as wide as you’d like your belt to be. We used 1.5 inch grosgrain for our project, but you could certainly use a pretty double satin or something else entirely. Just make sure it will lay nicely on your waist.

Fabric - We used four different types/tones for this project. Rachel chose a few different silks and a tulle. Different textures and weights make for nice variation when they’re all mixed together. The remnants bin of your local fabric store is a great place to start if you’re looking for inspiration.

Needle

Thread

How to:

Find the center point of your belt/ribbon and start there. We’d recommend cutting your belt longer than you think so you can accommodate for an off center finished product and/or for a big bow in the back.

For the complete tutorial, we’re going to point you towards Rachel’s detailed explanation of a similar headband on her blog. But the gist is this…
diy_rufflybelt1

Make your petals. Again, how-to is on Heart of Light.

(If you’re concerned with stray threads from rough-cut fabric, Rachel discovered that IF AND ONLY IF you are using 100% natural fiber fabric, you can actually singe the edges of your petals on the stove before you start. This seals the edge and stops your fabric from shedding threads. BUT we repeat, do not attempt this if you’re using synthetic fabric. Two words: Fire. Hazard.)

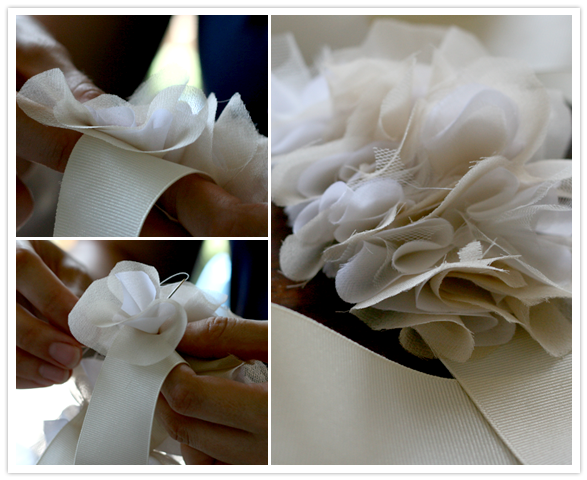
Stack 2 or 3 petals on top of each other (using a variety of fabrics and colors in each flower).

Twist the back of each flower so you catch the center of all 3 petals and lay it on your ribbon. Now tack it down with a few well placed stiches and repeat.

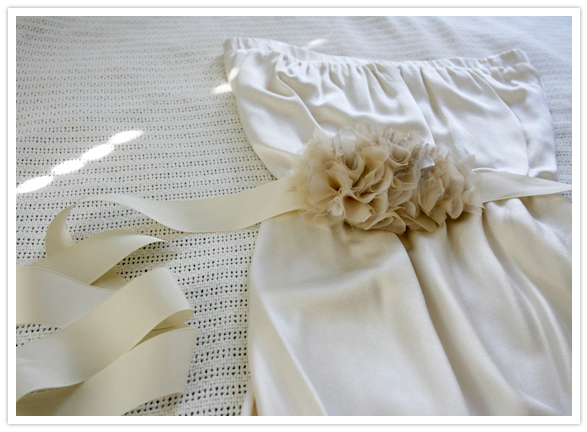
If you’re using a wider piece of ribbon like we did, you’ll need 2 flowers, side by side, per row. Working in one direction, add as many rows as you want to make the decorative part of your belt the right length. Once you have the general shape and length that you like, you can always go back in and add more flowers where you see fit.

This project is especially excellent because it requires little expertise in terms of sewing. As long as you’re familiar with a needle, thread, and a basic stitch, you are completely qualified to pull this off.

diy_rufflybelt4

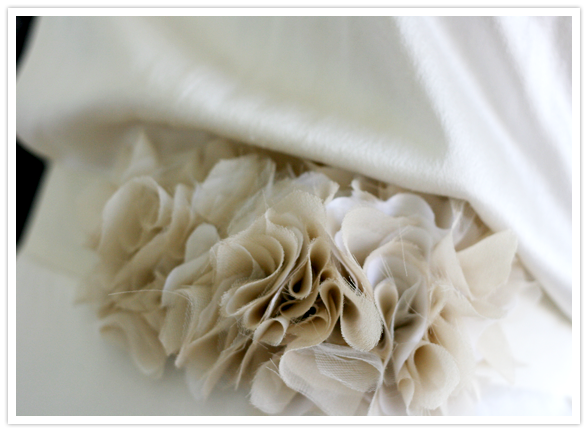
Once you’ve filled your belt with the number of ruffles you like, that’s it! The underside won’t be pretty, but don’t worry. No one’s going to see it. For a more finished product you could always back your belt with a second piece of ribbon.

We can see this project working with just a little flower for your hip or with a full row to accent your entire waist. Totally depends on you!
diy_rufflybelt6

We’re making more of these, that’s for sure. And seriously, they are so simple you could easily make a whole set for your bridesmaids.
diy_rufflybelt5

Wednesday, July 22, 2009

I heart Etsy

It's official: I'm addicted to Etsy.... HELP! But there are just way too many creative ideas to incorporate for our upcoming weddings! Plus I'm supporting all the talented local artists/small business owners out there!


Collections from SarahSeven


images from 5eizen! I love her stuff!
collage1
some of the wedding clutches I found that will be perfect for bridesmaids gifts & even for yourself

Dream

E+A

Keepcalm

I love these nostalgic photos by Bueller You can change your names too!


For all you DIY brides!! I stumbled across emililies calligraphy and she sells downloadable file of hand calligraphy and computer font. HOW COOL is this??

Sunday, June 28, 2009

Looking for a chic place to throw a bridal shower?

Looking for a chic place to throw a bridal shower? CHI- Nail Bar & Organic Spa opened beginning of this year in Beverly Hills near the Rodeo Dr area - right down the street from Sprinkles (yum!) on Little Santa Monica. The setting is just perfect to throw a bridal shower, to hang out with the girls & to get your nails done before the big day. They go to great measures to keep everything extremely clean and they do not reuse their files and all the metal tools are sanitized in an surgical sterilizer.
For a private party all guest come together and the host can bring drinks, food, music, gifts and decorations*. There is an additional location rental fee of $50.00 an hour during store hours or $75.00 after hours.


I am definitely loving their foot spa area...


Photo Credit: Caroline Tran
Speaking of bridal shower, I introduce you to The Jewelry Bar!!!
One of the most savvy, stylish & creative client, Susan opened up her jewelry store on Etsy after moving to New York last November. She recently sent me an email to tell me about her work and I was literally clicking through every 160+ handmade jewelries she made. Talk about some serious talent! I hear her jewerly business is going really well and I could not be happier for her. These unique jewerlies will be PERFECT for bridesmaids gifts & birthday gifts. All jewelry pieces are handmade with sterling silver or 14k gold filled with finest hand selected gemstones and unique metal components.

My creation

My creation
Please check out her store to find more beautiful pieces

Wednesday, February 4, 2009

What to choose... What to choose...

GUEST BLOGGER: ELISA YOON
  • Hairpiece : Don't be afraid to put in color.
{Image from Snippet and Ink}

{Image from Etsy}
  • Along with the Birdcage Veil or any veil you can accent it with a flower.
{Image from Brooklyn Bride, Photo taken by Jennifer Causey}

{Image from Etsy}

  • Headband: It can go with or without a veil.
{Image from Etsy}

{Photo by Keli Nicole}

{Image from Etsy}
  • Hair wire
{Image from Rangoli}

  • Hair Clip
{Image from Rangoli}

{Image from Jennifer Behr}

  • Hair Comb
{Image from Rangoli}

{Image from Etsy}

  • Tiara

{Image from Josh McCullock}

  • Circlets
{Image from Etsy}


  • Flowers
{Photos by Josh McCullock}

{Image from Updo Princess}


SOME SHOPS

{Images from Etsy}

{Images from The White Aisle}

{Images from Etsy}


{Images from Jennifer Behr}

{Image on left from Etsy and on right from Twigs & Honey}
